The one brush technique that transforms your foundation application
If your foundation looks streaky, patchy, or "sitting on top" of your skin — you're probably dragging when you should be buffing.
The number one mistake in foundation application isn't the product. It isn't the brush. It's the motion.
Most people apply foundation the way they'd paint a wall: swiping a brush in one direction, back and forth. That leaves visible streaks and pushes pigment into pores instead of into the skin.
Here's the alternative.
What buffing is
Buffing is a small, circular motion with the tips of the bristles just barely touching the skin. Think polishing shoes, not painting walls. The bristles are meant to work the foundation into the skin, not push it across it.
The circles should be:
- Small (about the size of a nickel)
- Overlapping (never lift the brush; work in continuous small loops)
- Light (the weight of the brush handle only, no pressing down)
Cover the entire face this way. It takes 45-60 seconds if you're being thorough.
Why it works
Foundation is designed to sit as a thin, even film. The buffing motion:
- Breaks the foundation into a uniform layer rather than streaks
- Warms the product slightly, helping it melt into skin texture
- Softens the edges at the jawline and hairline automatically
- Uses less foundation for the same coverage
The right brush for it
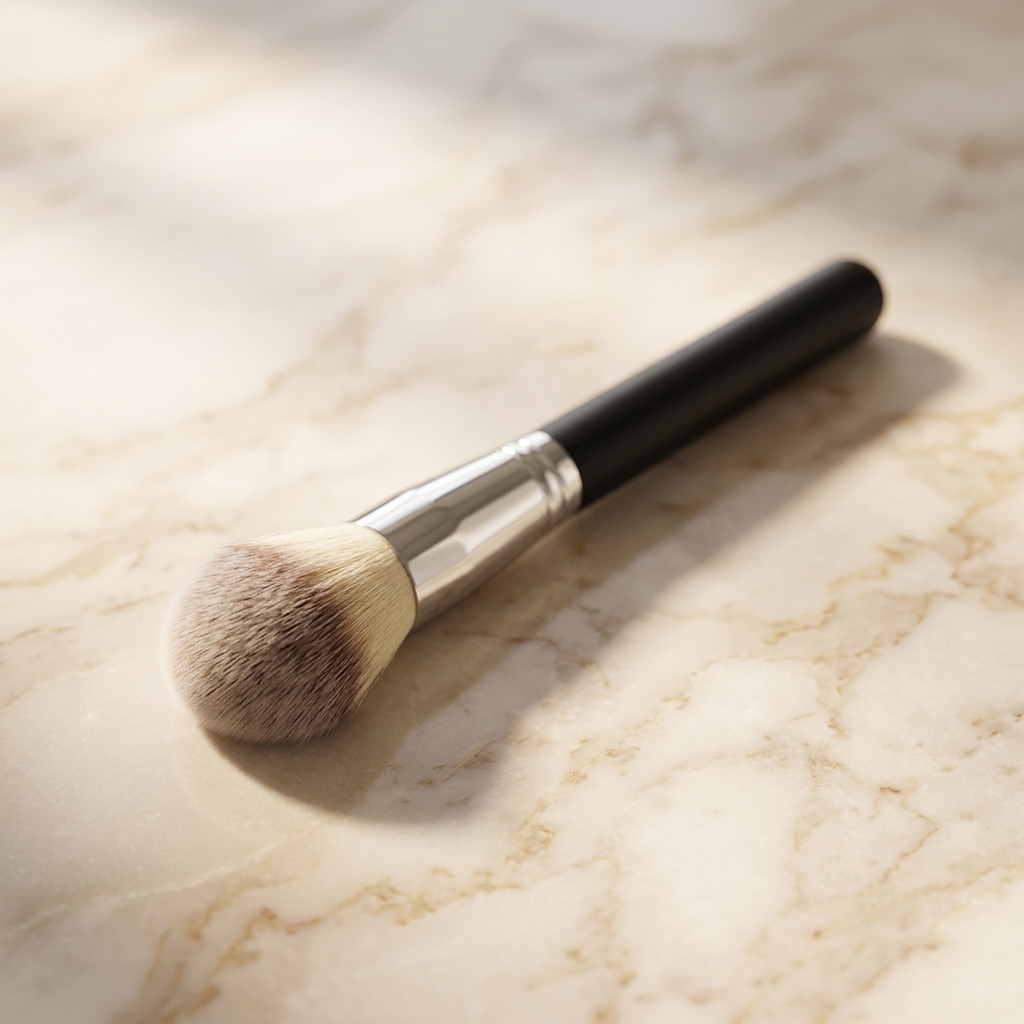
Any dense, domed brush works, but a proper dome foundation brush is what this technique was designed for. The rounded bristle tip lets you work circles smoothly across the curved planes of the face.
Flat foundation brushes can be buffed too, but the technique feels less natural — you'll want to hold it more perpendicular to the skin.
The three-step foundation
Here's the full sequence for the best possible skin finish:
Step 1 — Dot the foundation
Small dots on the forehead, both cheeks, nose, and chin. Not one big blob.
Step 2 — Buff, don't drag
Small overlapping circles across the entire face. Start in the center and work outward. Blend into the hairline and down under the jaw so there's no visible line where foundation ends.
Step 3 — Press with a damp sponge (optional but life-changing)
After the brush has done its job, gently press (not swipe) a damp beauty sponge across the whole face. This softens the finish and dilutes any spots that look heavier. See foundation brush vs. sponge for the theory.
The 10-second test
Look at yourself in a bright bathroom mirror right after applying foundation. If you can see any brush lines — even faint — you dragged. Go over those areas again in circles until they disappear.
If you can see only skin texture underneath a smooth, even color, you buffed correctly.
When it feels wrong
The first time you try buffing, it will feel like you're not doing enough. You will want to swipe. Resist. The brush is working even when it doesn't feel like it. Give it 30 seconds and check the mirror.
That's the trick. Not the foundation, not the brush — just the motion.
Want the full 4-step how-to for every brush in your kit? Browse the catalog → — each brush has its own technique breakdown.